Creating your first Minecraft starter house is an exciting milestone that every player remembers. Whether you're a seasoned builder or a newcomer to the game, designing a humble yet functional home lays the foundation for your survival and creativity in the Minecraft world. A starter house is more than just a shelter; it's a space that reflects your style while providing essential protection from mobs and the elements.
As you venture into the blocky landscapes of Minecraft, you'll face the challenge of gathering resources, planning your layout, and ensuring your build is both practical and visually appealing. A well-designed Minecraft starter house not only helps you stay safe at night but also gives you a sense of accomplishment and pride. With endless possibilities, the key lies in balancing simplicity with functionality.
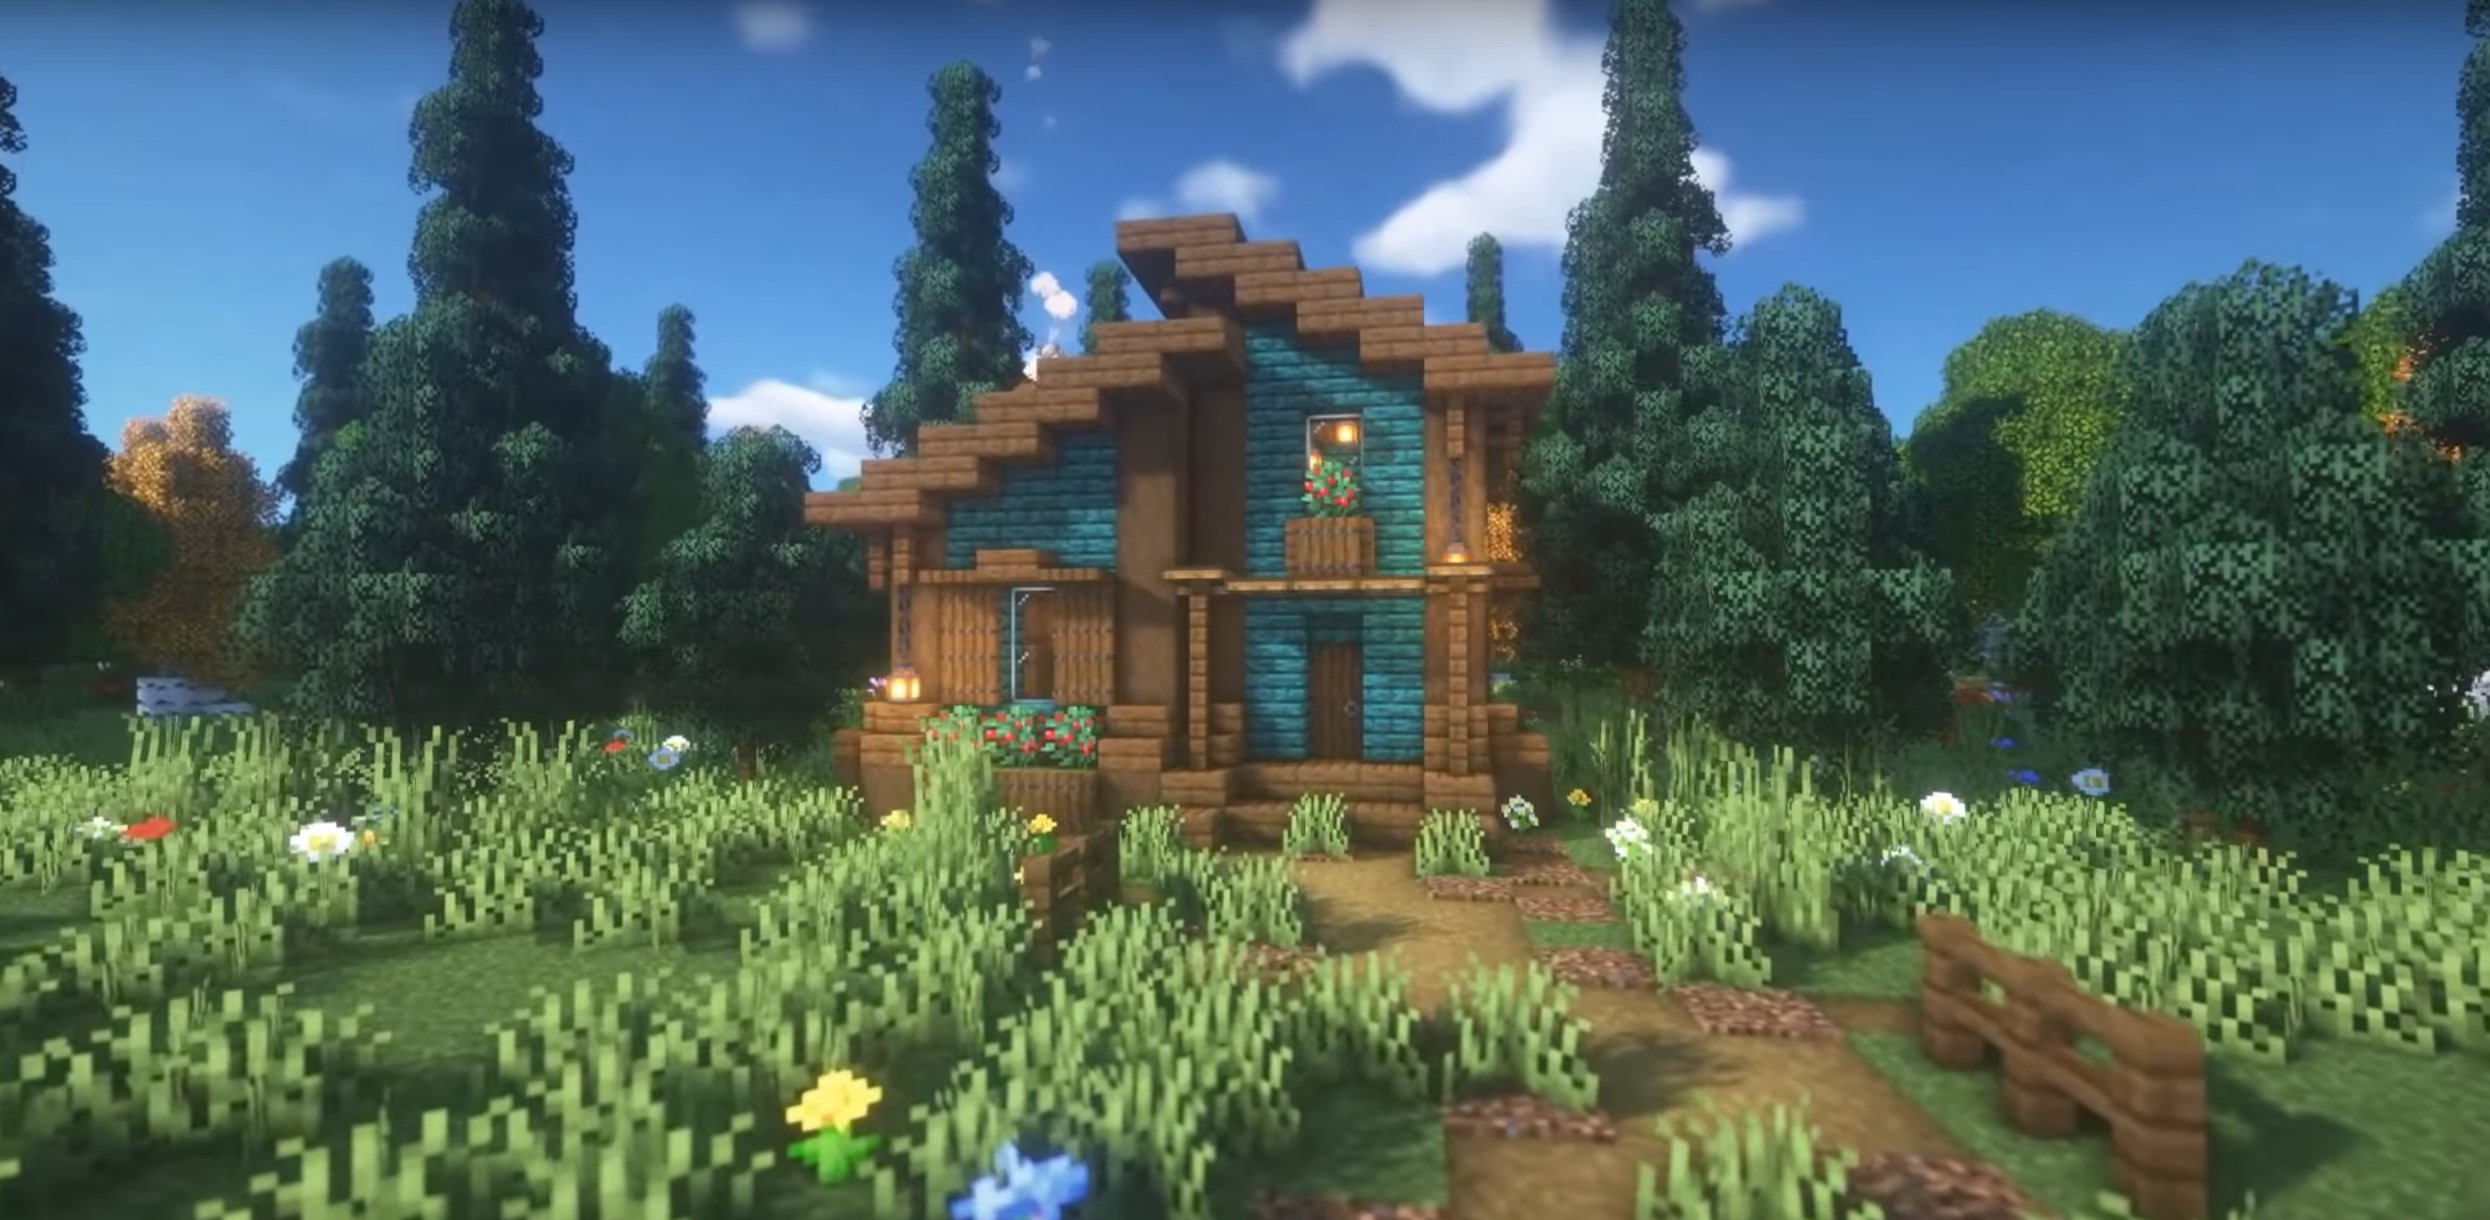
This article will guide you through everything you need to know about Minecraft starter houses. From basic building materials to advanced design tips, we'll cover a range of styles to suit different tastes. Whether you prefer a cozy cottage, a modern abode, or a treehouse retreat, this comprehensive guide will help you create the perfect starter house to kick off your Minecraft adventure. Let's dive in!
Read also:Unique Names For Groups Of Animals A Complete Guide
Table of Contents
- Why Do You Need a Minecraft Starter House?
- Essential Materials for Your First House
- How to Choose the Right Location?
- Step-by-Step Guide to Building a Starter House
- Popular Design Styles for Starter Houses
- What Are the Best Tips for New Builders?
- Minecraft Starter House Blueprints and Layouts
- How to Decorate Your Starter House?
- How to Expand Your Starter House?
- Common Mistakes to Avoid
- How to Protect Your Starter House from Mobs?
- Inspirational Starter House Ideas
- Frequently Asked Questions
- Conclusion
Why Do You Need a Minecraft Starter House?
Your Minecraft starter house is the cornerstone of your survival journey. It provides you with shelter, storage, and a safe area to regroup as you gather resources and explore the world. But why is it so crucial to build a starter house early on?
- Protection: A starter house keeps you safe from hostile mobs such as zombies, skeletons, and creepers.
- Storage: It offers a secure place to store your items, tools, and resources.
- Respawn Point: With a bed in your house, you can set your respawn point, ensuring you always return to a familiar location.
- Organization: A designated space helps you stay organized as you progress in the game.
In short, a starter house is essential for surviving and thriving in Minecraft. Without it, you'll find yourself scrambling to survive the night or losing valuable resources to unexpected dangers.
Essential Materials for Your First House
What materials should you gather first?
Before you start building your Minecraft starter house, it's important to gather the right materials. Here are some of the most commonly used resources:
- Wood: The easiest material to gather, wood is versatile and can be used for walls, floors, and roofs.
- Cobblestone: A durable material that adds strength and texture to your build.
- Glass: Perfect for windows, allowing light into your house while keeping mobs out.
- Wool: Needed to craft a bed for setting your respawn point.
- Torches: Essential for lighting up your house and preventing mob spawns.
These materials are easy to find and gather, making them ideal for a beginner's build.
How much of each material do you need?
The amount of materials you'll need depends on the size and complexity of your starter house. A small house typically requires:
- 50-100 wooden planks for walls and furniture
- 30-50 cobblestones for the foundation and roof
- 10-20 glass blocks for windows
- 3 wool blocks for crafting a bed
Having extra resources on hand is always a good idea in case you make mistakes or want to expand your house later.
Read also:Ultimate Guide To My Icev Everything You Need To Know
How to Choose the Right Location?
Choosing the right location for your Minecraft starter house can make a big difference in your gameplay experience. Here's what to consider:
- Proximity to Resources: Build near trees, water, and caves to ensure easy access to essential materials.
- Flat Terrain: A flat area makes building easier and reduces the need for extensive landscaping.
- Safe Distance from Mobs: Avoid building too close to mob spawn areas, such as dark caves or forests.
- Accessibility: Choose a location that's easy to find and navigate, especially if you plan to expand your base.
Taking the time to scout a good location will save you headaches and help you make the most of your starter house.
Step-by-Step Guide to Building a Starter House
Building a Minecraft starter house can seem daunting, but breaking it down into steps makes the process manageable and enjoyable. Here's a simple guide:
- Gather Materials: Collect wood, cobblestone, and other essentials.
- Lay the Foundation: Mark out the dimensions of your house and clear the area.
- Build the Walls: Use wooden planks or cobblestone to create sturdy walls.
- Add a Roof: Use stairs or slabs to create a sloped roof, or keep it flat for a modern look.
- Install Windows and Doors: Place glass blocks for windows and craft a wooden door.
- Furnish the Interior: Add a bed, crafting table, furnace, and chest for functionality.
- Light It Up: Place torches or lanterns inside and outside your house to prevent mob spawns.
With these steps, you'll have a cozy and functional starter house in no time!
Popular Design Styles for Starter Houses
From rustic cabins to sleek modern homes, the design possibilities for Minecraft starter houses are endless. Here are some popular styles to consider:
- Rustic Cottage: A cozy house made with wood and cobblestone, featuring a thatched roof and flower boxes.
- Modern Minimalist: A sleek design with clean lines, flat roofs, and a mix of concrete and glass.
- Treehouse: A unique build elevated in the trees, offering great views and safety from mobs.
- Underground Base: A hidden house carved into a hillside or underground, perfect for stealthy players.
Each style has its own charm, so choose one that suits your taste and playstyle.
What Are the Best Tips for New Builders?
Building your first Minecraft starter house can be overwhelming, but these tips will help you succeed:
- Start Small: Focus on a simple design and expand as you gain more resources and experience.
- Plan Ahead: Sketch out your design or use blueprints to guide your build.
- Experiment: Don't be afraid to try new materials, shapes, and layouts.
- Stay Organized: Keep your tools and resources sorted in chests for easy access.
Remember, practice makes perfect. The more you build, the better you'll become!
Minecraft Starter House Blueprints and Layouts
Using a blueprint or layout can simplify the building process and give you a clear direction. Here are a few ideas:
- Basic Layout: A rectangular house with a single room, bed, crafting table, furnace, and chest.
- Two-Story Layout: A compact design with a bedroom upstairs and a workspace downstairs.
- L-Shaped Layout: A unique design that adds character and extra space.
You can find detailed blueprints online or create your own using graph paper or design software.
How to Decorate Your Starter House?
Decorating your Minecraft starter house adds personality and makes it feel like home. Here are some ideas:
- Furniture: Use slabs, stairs, and trapdoors to create tables, chairs, and shelves.
- Lighting: Add lanterns, glowstone, or redstone lamps for ambiance.
- Plants: Place potted plants or create a small garden outside your house.
- Wall Art: Hang paintings to liven up your interior.
Get creative and experiment with different decorations to suit your style.
How to Expand Your Starter House?
As you progress in Minecraft, you may want to expand your starter house. Here's how to do it:
- Add More Rooms: Build additional rooms for storage, enchanting, or farming.
- Upgrade Materials: Replace wood with stone or brick for a sturdier and more polished look.
- Build Up or Down: Add a second floor or a basement to maximize space.
Expanding your house not only improves functionality but also showcases your growth as a builder.
Common Mistakes to Avoid
Building a Minecraft starter house is a learning experience, but here are some mistakes to watch out for:
- Neglecting Lighting: A poorly lit house invites mobs to spawn inside.
- Ignoring Defense: Failing to add fences, walls, or traps leaves your home vulnerable to mobs.
- Overcomplicating the Design: Complex builds can be overwhelming and time-consuming for beginners.
By avoiding these pitfalls, you'll create a house that's both functional and enjoyable to live in.
How to Protect Your Starter House from Mobs?
Keeping your starter house safe from mobs is crucial for survival. Here are some tips:
- Use Fences and Walls: Surround your house with a barrier to keep mobs out.
- Light Up the Area: Place torches or other light sources around your house to prevent mob spawns.
- Install Traps: Use lava pits, dispensers, or tripwire traps for added defense.
With these precautions, you can enjoy a safe and peaceful home.
Inspirational Starter House Ideas
Looking for inspiration? Here are some creative starter house ideas to spark your imagination:
- Mountain Cabin: A house built into the side of a mountain with a stunning view.
- Floating Island: A unique house suspended in the air, accessible via a ladder or water elevator.
- Desert Oasis: A sandy retreat complete with a garden and water feature.
- Jungle Hideout: A treehouse hidden among the foliage, blending seamlessly with the environment.
Let your creativity run wild and make a house that's uniquely yours!
Frequently Asked Questions
1. What is the best material for a starter house?
Wood is the best material for beginners due to its abundance and versatility. However, cobblestone is more durable and can be used for added protection.
2. How long does it take to build a starter house?
A simple starter house can be built in 10–15 minutes, depending on your experience and the availability of resources.
3. Can I build a starter house underground?
Yes, an underground house is a great option for players who want a stealthy and secure base.
4. What tools do I need to build a starter house?
You'll need an axe for chopping wood, a pickaxe for mining stone, and a shovel for clearing dirt or sand. These tools will help you gather resources efficiently.
5. How do I make my starter house look better?
Adding decorations, using a variety of materials, and experimenting with shapes and layouts can enhance the visual appeal of your house.
6. What should I do if my house is destroyed by mobs?
Rebuild your house in a safer location and consider using stronger materials like stone or brick for added protection.
Conclusion
Building a Minecraft starter house is an essential part of your journey in the game. It provides safety, storage, and a sense of accomplishment as you begin your adventures. With the tips, ideas, and inspiration shared in this guide, you're well-equipped to create a starter house that suits your style and needs. So gather your resources, pick the perfect location, and let your creativity shine as you build the home of your Minecraft dreams!
For more tips and tricks on Minecraft building, check out Minecraft's official website.